Showing posts with label anniversary. Show all posts

Tuesday, October 13, 2015

fall love

Hello everyone! Thanks for stopping by today! Here in Canada we just celebrated Thanks giving and so I thought I would share this card for you that screams fall!!!


I made this card on world card making day with some new goodies I got!! That background fancy leaves stamp from Impression Obsession. I saw it and imagined this card in my head!! I just love how it turned out and always fun to mush distress inks on a stamp and spritz with water for a somewhat controlled water colour effect!! 

I hope you enjoy and thanks so much for stopping by!!
Chera~

Wednesday, September 30, 2015

emboss resist anniversary

I had a great mail day yesterday…one of the items being the new Simon Says Stamp Card Kit for the month of October  . I Had a plan with the heart but it kind of morphed into this card instead! Kind of fun just to let creativity flow!


I knew I wanted to do some water colouring so I decided to use some versa fine black in so I could clear emboss over it!! I had originally only stamped 3 hearts but once I got going I just couldn't stop I guess! :) Happens to the best of us when the creative juices are flowing!

I wanted the card to be bold. Think I accomplished that but that being said it was to bold to just have my die cut happy directly over the painted heart areas. I wanted all that pretty colour to still show through so why not pull out the vellum and add the die cut over top!! 

I hope you enjoy todays creation! And make sure to check out the Simon Says Stamp Flickr challenge (tomorrow might be your last day for the emboss resist however!) 

Thanks so much for stopping by today!!
Chera~

Monday, August 18, 2014

Perfect Pear

Happy Monday everyone!!! So I have another card for you!!! Its for this weeks Clean and Simple sketch, make sure to go check it out!! Its awesome as always!! 


The first thing I did to make this card was die cut one pear and start water colouring it. I used a couple of distress ink. After the one was done, I realized I better do another one so it would go with the sentiment!! After I had coloured the pears I set them aside to dry and pulled out the dots stencil. I used my ink tool with some distress ink as well to add the yellow colour! Once that was done I decided to trim down the card front so I could add the border along the side! Just for a little more detail!! Once I heat embossed that I then adhered the white card front down. At this time my pears were mostly dry so I zapped it a little with my heat tool to make sure they were completely dried. Then placed them on my card front along with the "you" die cut so I knew where I needed to stamp the rest of the sentiment. After everything was adhered I had to of course add some sequins cause a card just isn't finished without them right??? And there you have it!! 

Hope you enjoy and please make sure to pop over to Clean and Simple Stamping and do this weeks sketch challenge!!

Thanks so  much for stopping by!!
Chera~

Supplies:
Paper: white, early espresso SU
Ink: versa mark, early espresso, peeled paint, mowed lawn, scattered straw distress inks
Stamps: punny produce pears wplus9, border basics fresh squeezed stamps
Accessories: clear cut stacker pears, hand lettered thanks wplusp, clear embossing powder, pretty pink posh sequins, stencil

Monday, August 4, 2014

Together forever

Today is day one of the Stretch your Stamps online card class. Today they gave us some new ideas on how to use background stamps. While I was digging through my stash of stamps I realized that I don't actually own a background stamp….how is this possible?? Anyway, I did find some border stamps and decided to create my own background!

I pulled out Wplus9 quilt prints and on water colour paper (cause I was originally going to pull out the distress inks) I white heat embossed the pattern diagonally across the card front I had. Once it was all said and done I decided that I was going to spritz it instead of doing the water colouring. Took a while for it to saturate into the paper. Once it was dry I removed the original heat embossing I had done with my iron and a scrap paper! Gave it a clearer outline to where I had actually stamped. The mist didn't really resist as I thought it should!

For putting this first card together I decided that with the gold it needed to be an anniversary type card. Just seems classy to me! So I die cut the word together and then covered it with glossy accents and set it aside to dry. Then I cut a panel of my paper I created and place it on. Originally I only had 1 piece there but it didn't look right, thats when I added the second piece and put the small gap between. I then stamped forever add it to a black card base and once the glossy accents was dry added it to the card front! 


For this card I took the leftover piece I had from the first card and die cut together. I just love the inlaid die cut look! Can't go wrong. So after I had die cut out of the water colour paper as well I glued down that piece onto the black card front. Pieced the words all together. Had thought about stamping something different but the forever just looks so right! I then trimmed what was left of the piece I had and add them to the card as well just for some extra detail!! 


Hope everyone else enjoyed day one as much as I did!! Looking forward to so much more inspiration!
Thanks so much for stopping by!!

Chera~

Supplies:
Paper: watercolour paper, black
Ink: versa mark, black
Stamps: wplus9 quilt prints, wonderful words together
Accessories: heidi swapp colour shine bronzer and gold, together die (pit), glossy accents

Sunday, July 20, 2014

Happy Anniversary!

I've been working on some anniversary cards for an order. And I don't know what is it about them that I get all worked up about. Suppose it could be the fact that the majority of cards made are birthdays and thank yous, so this one seems ever so intimidating!


I decided I wanted to make my own background by stamping. I don't have a whole lot of options for this so I pulled out an oldie from Fresh Squeezed stamps (sadly they are no longer around). I really like the way this stamp gives the paper a textured look! after stamping the first stamp in the middle of the card front I then pulled out the anniversary stamp. I could have made stamping that much easier by cutting the words apart but I'm just not brave enough yet to do that!! So I covered the word I wasn't stamping with washi tape inked up and stamped er down. After both happy and anniversary were stamped I knew where to stamp the about background leaving the white space there. Once that part was done I die cut the flowers and leaves stamped on them, then adhered it to the card base. Looks like a lot more work then it really was!!

Hope you enjoy and thanks so much for stopping by!
Chera~

Supplies:
Paper: white, old olive
Ink: appletini, cranberry crush, silver lining, old gold, wild mango, bloomsberry Wplus9
Stamps: spring blooms, basic banners, background check
Accessories: spring blooms dies

Saturday, February 15, 2014

Wplus9 Challenges!

Happy weekend everyone! I've had a busy couple of weeks with my son having some major surgery so today is the first day in a while I've been able to get back at it. And I figured why not pull out my Wplus9 goodies and attempt the challenges on the blog!!! 

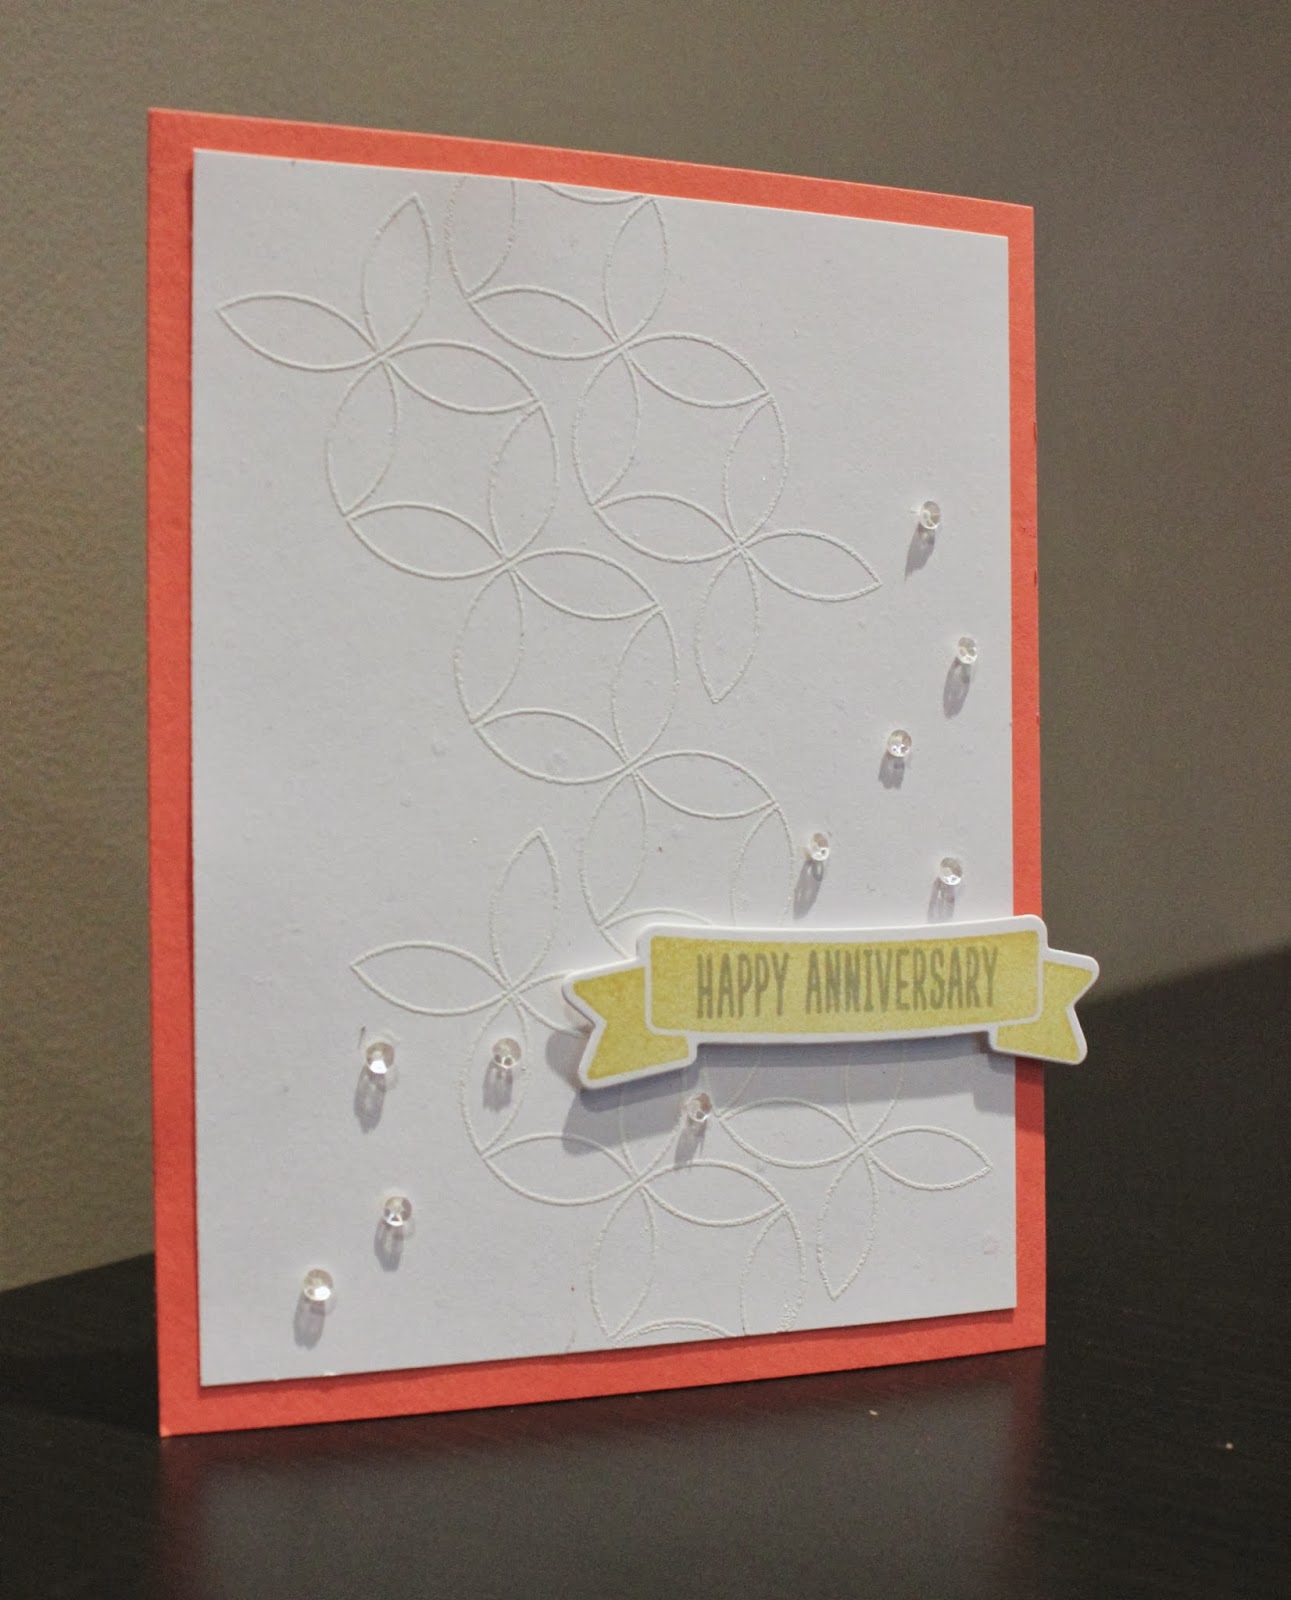
The first challenge is the "step it up" challenge where the focus is adding dimension. So for this card I heat embossed the background in white to keep it clean and simple then bumped up the banner and of course added some sequins…how could it not have some sequins! And I finished it off by adding some shimmer mist which is pretty heard to see in the picture!!


The next challenge is the "spotlight challenge" which I'm not 100% sure I did correctly!! But I wanted to do the letter press background and keep with my anniversary themed cards!  So for the background I used the xoxo die. Can I just say how much I LOVE the letter press look!!! A fun and easy way to add some dimension to the card with using other tools in my drawer!! 


Well that is all for today!! Hope everyone is doing great!!! Thanks so much for stopping by!
Chera~